South Africa
- Prepare the machine for the part installation. If the machine has been switched off and
has no ice on the evaporator go to the next step. If the machine is making ice, push and
release the Harvest button to melt the ice off the evaporator.
Note: The machine will shut Off at the end of the Manual Harvest Cycle. - Disconnect electrical power.
- Remove front panel.
- Remove evaporator cover.
- Remove curtain covering the ice thickness sensor.
- Remove sound shield (where used).
- Remove one screw and open the control box door.
- Disconnect the wire connected to terminal J10 (wire closest to top of board).
- Trace wire to freezing compartment, cut wire ties as needed to release it from the ice
machine. - Squeeze legs of ice thickness sensor
together and remove from the ice
machine. - Squeeze legs of replacement sensor
assembly together and install in place of
the original. - Route wire to control box, connect to
terminal J10. - Close the control box door, secure
with the original screw.
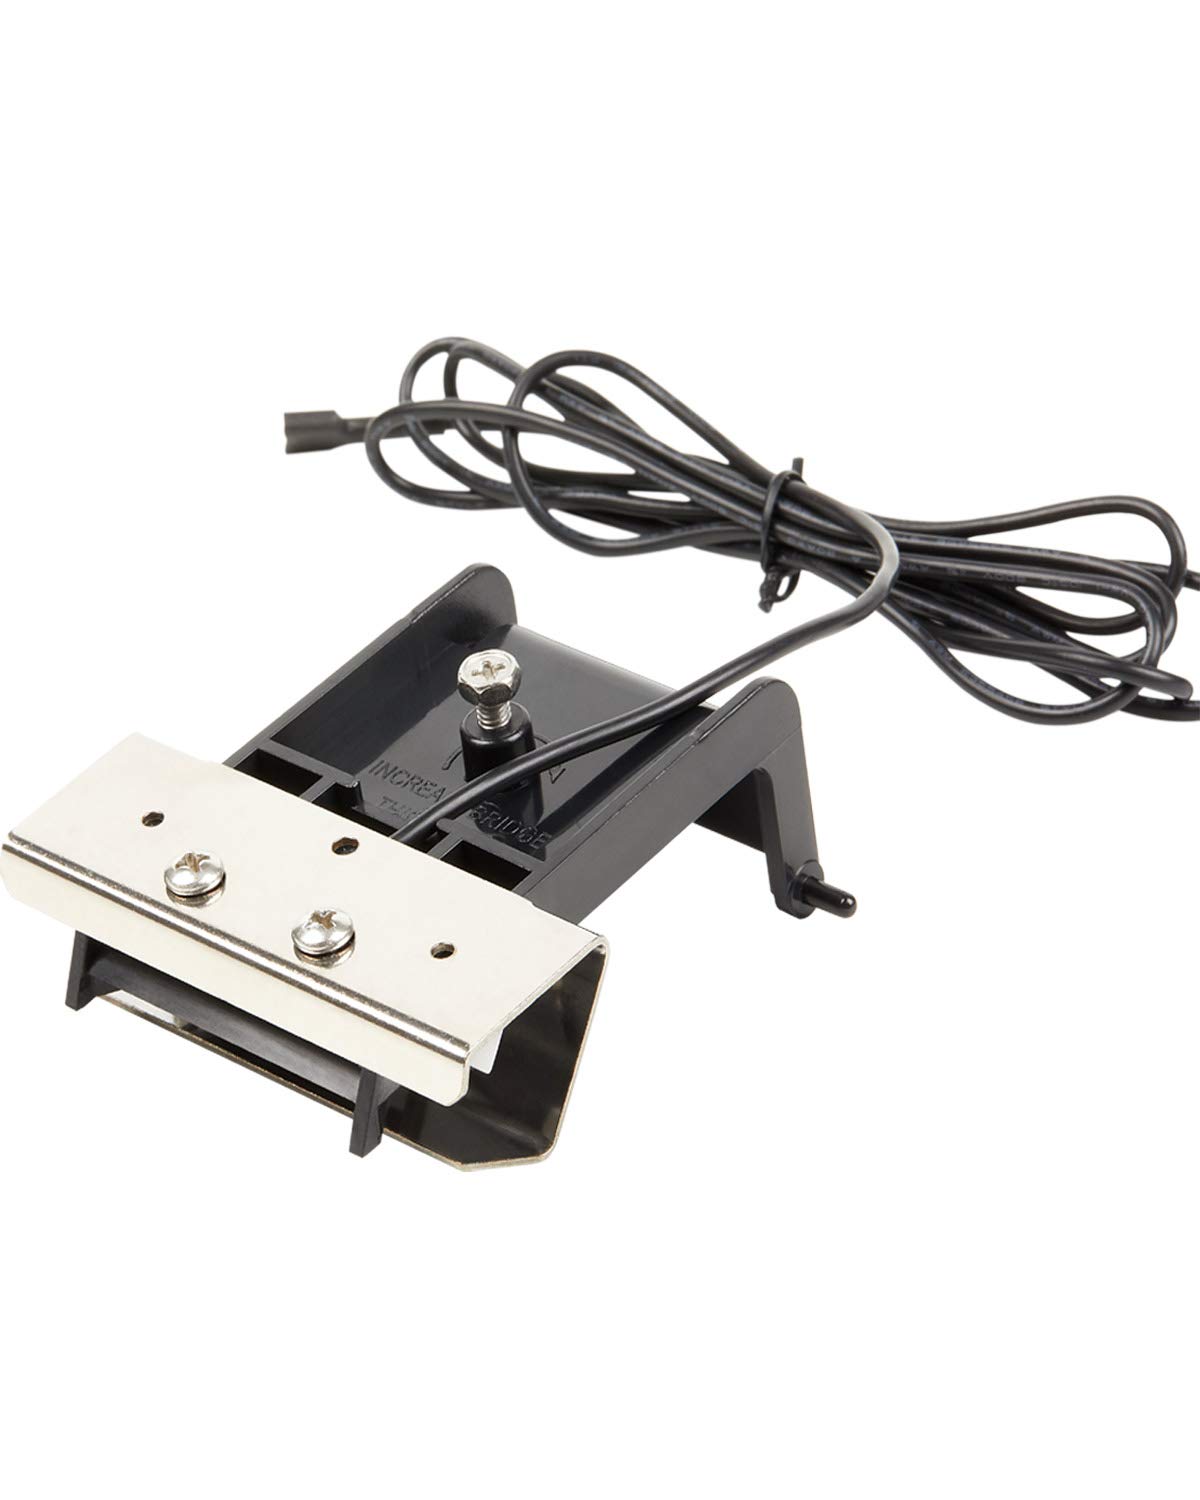
Instructions
Ice
Thickness
Sensor
Gap between
sensor and
evaporator
surface - Reconnect electrical power.
- Set starting gap between sensor and evaporator plate:
A. Small cube (half dice) models: Place a clean 3/16″ drill bit horizontally between the
evaporator grid and the metal tip of the sensor. The diameter of the drill bit will be used as
a feeler gauge.
B. Rotate adjustment screw as needed until the drill bit just touches the sensor tip.
or
A1. Medium cube (full dice) models: Place a clean 7/32″ drill bit horizontally between the
evaporator grid and the metal tip of the sensor. The diameter of the drill bit will be used as
a feeler gauge.
B2. Rotate adjustment screw as needed until the drill bit just touches the sensor tip.
Note: When the drill bit is in contact with both the sensor tip and the evaporator, the
controller’s Ready for Harvest light will be ON. - Check that the ice thickness wire does not bind movement of the ice thickness sensor.
Provide adequate slack. - Close control box door, secure
with the original screw. - Return curtain to its normal
position. - Push and release the On
button to restart ice machine,
operate through a full cycle.
Check bridge thickness, it should
be about 1/8″, adjust if needed. - Return all panels and covers
to their original positions.
17-3125-01 Rev B
1/8″ bridge
Too Thick Correct size Too Thin
for small
cube
Correct size
for medium
cube
Side View of Ice for Bridge Thickness Check